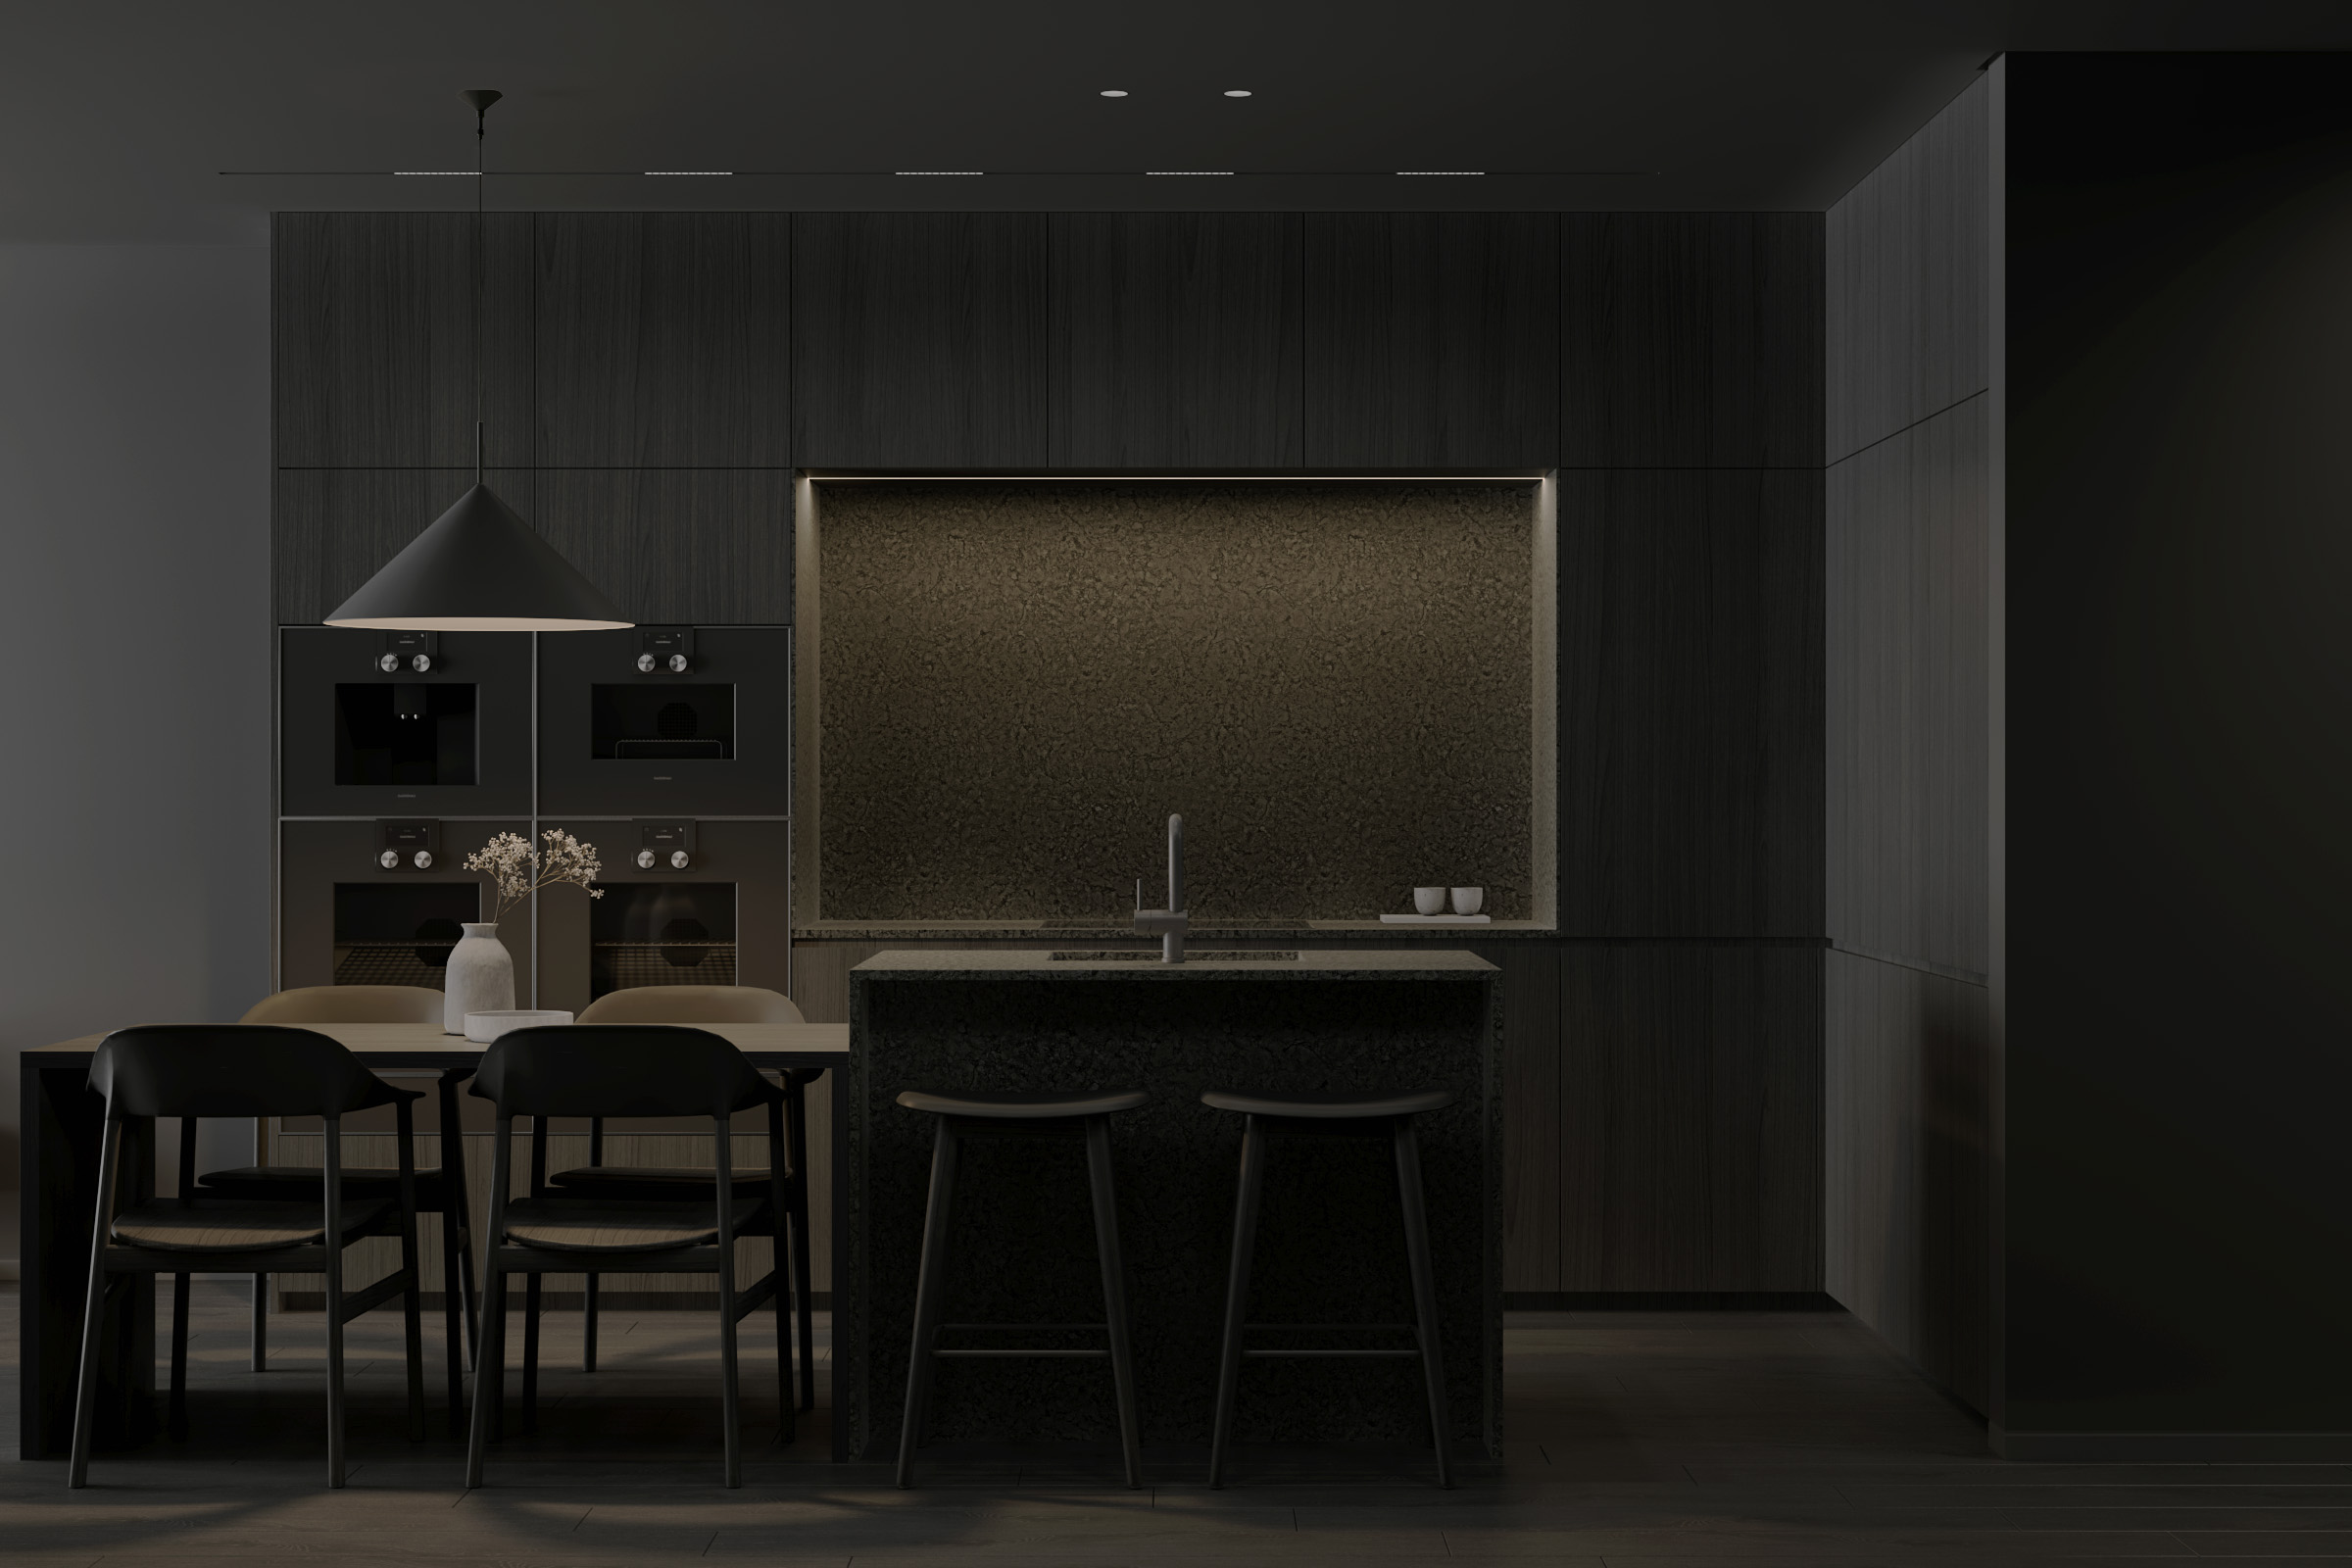
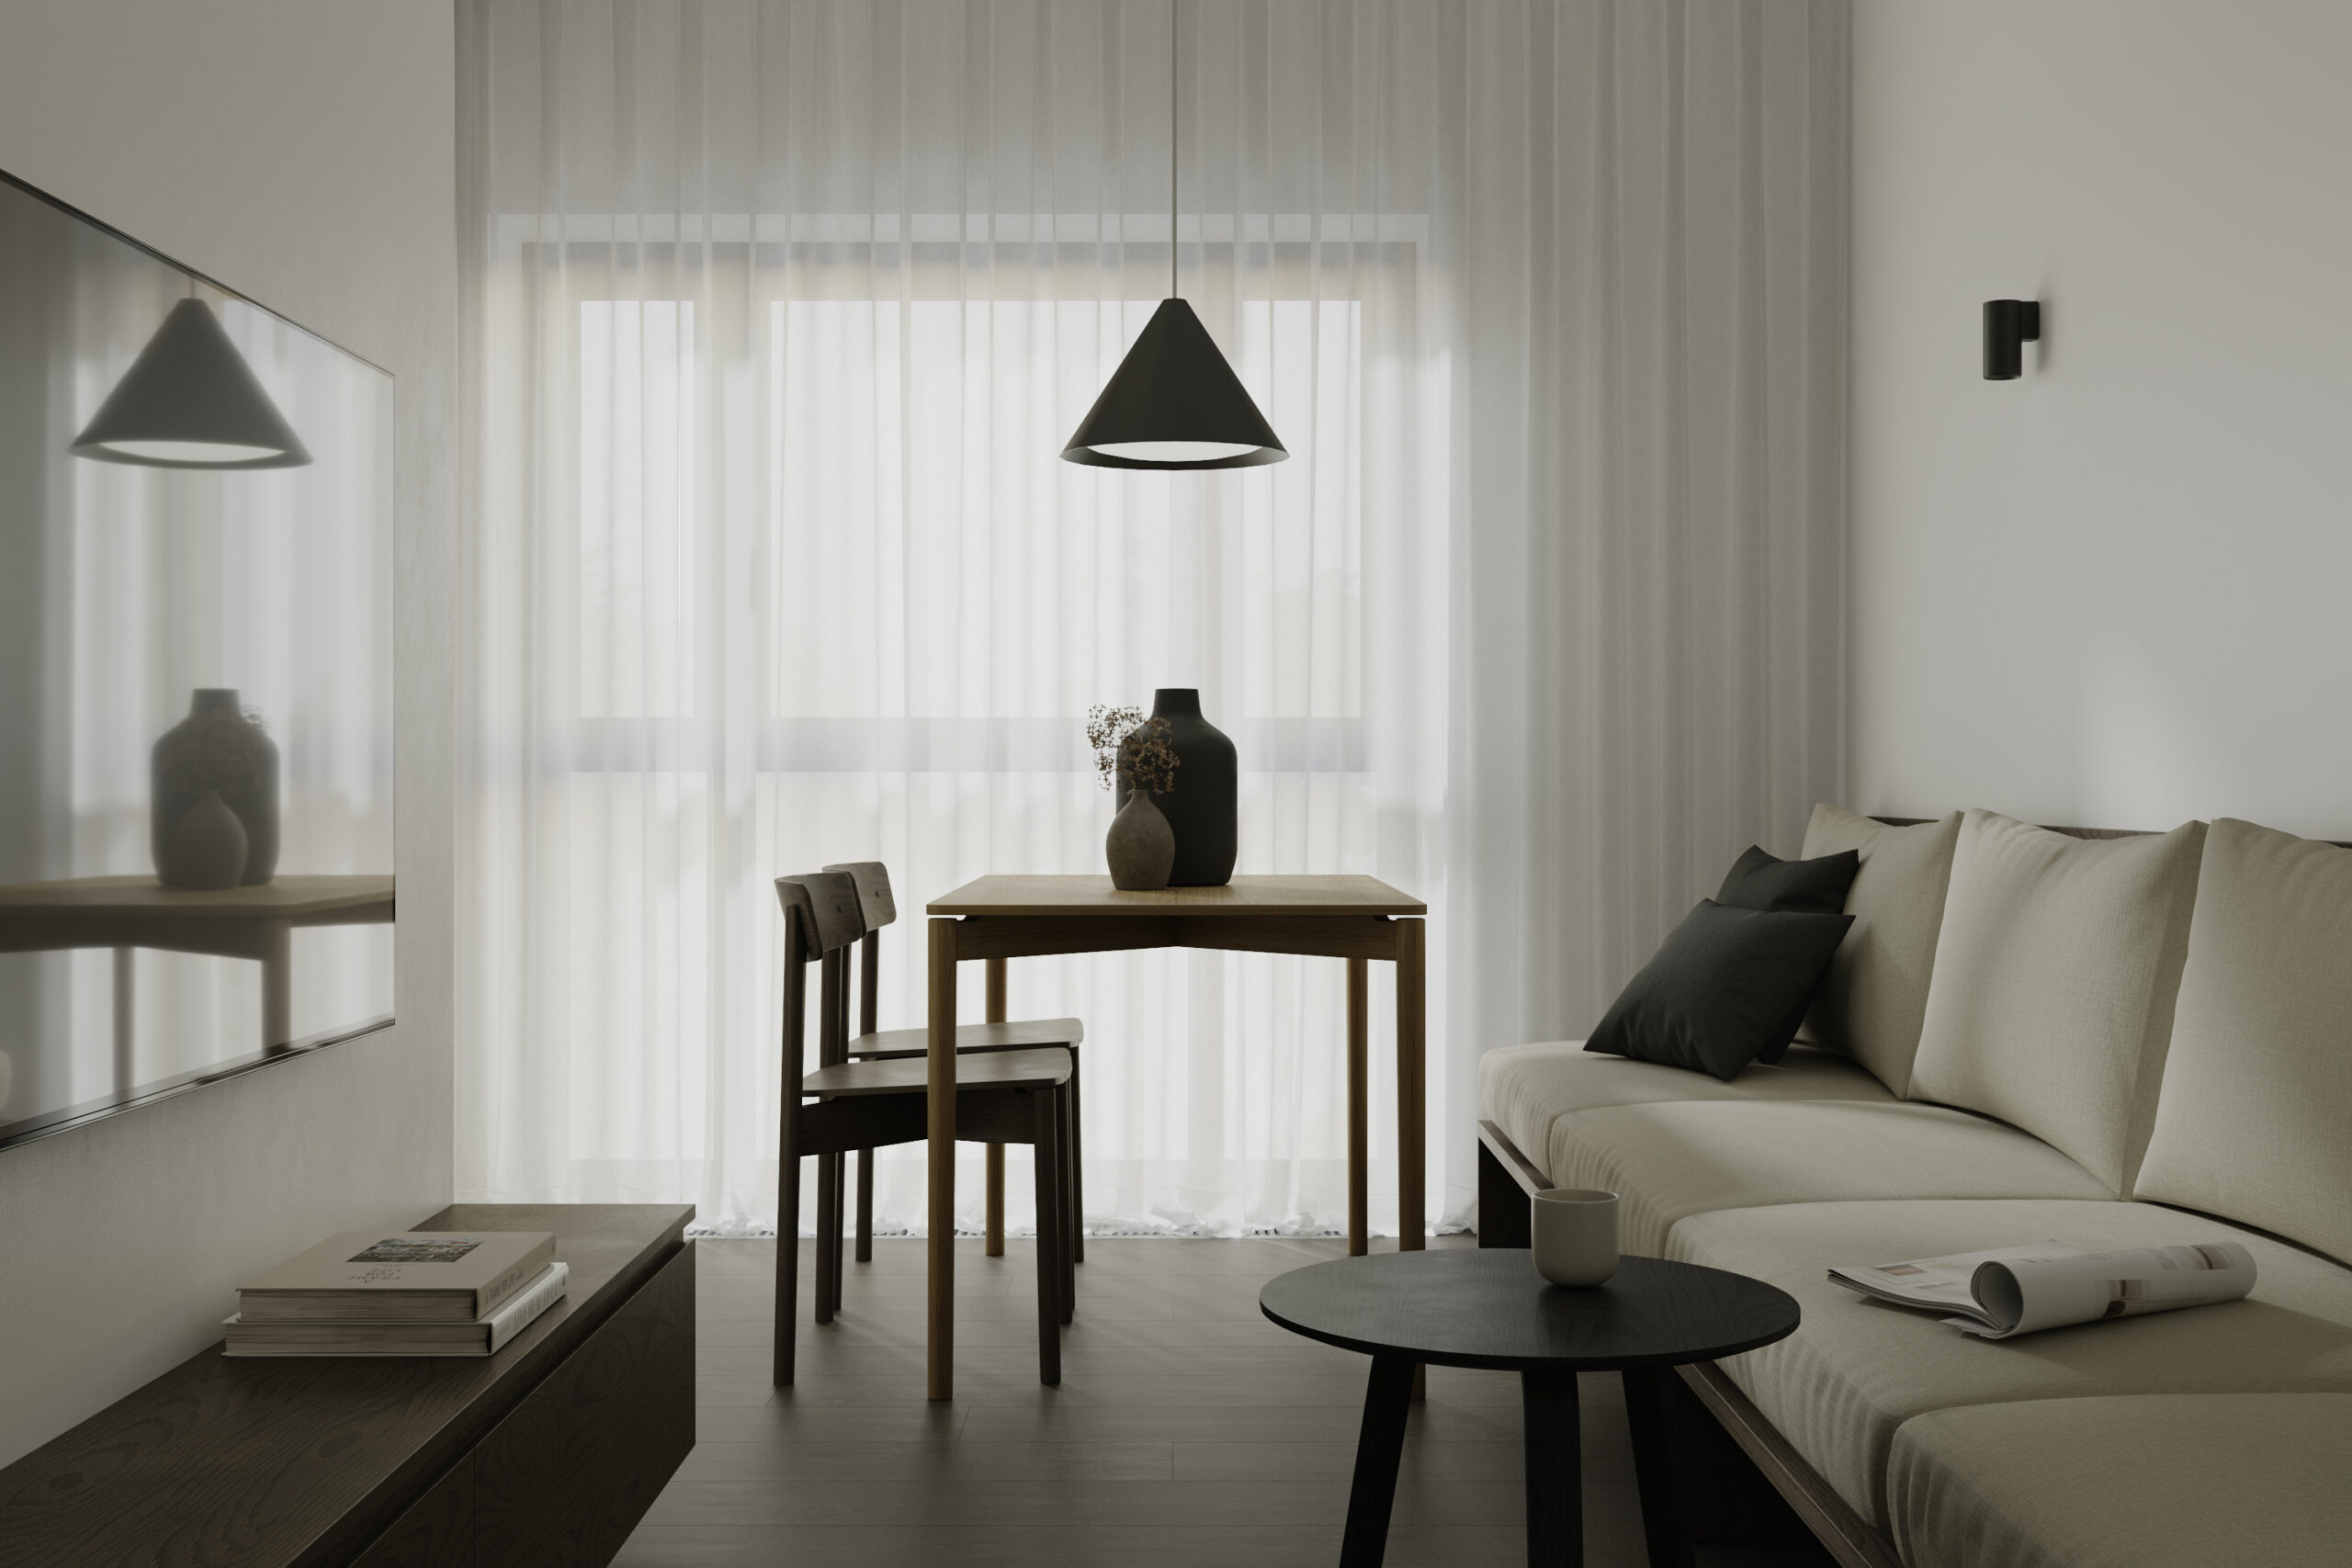
In this article, I delve into my process of creating 3D interior visualizations using the 3ds Max software and the Corona Renderer rendering engine. Step by step, I walk you through the transformation of design concepts into lifelike renders. Enjoy reading!
Stage 1
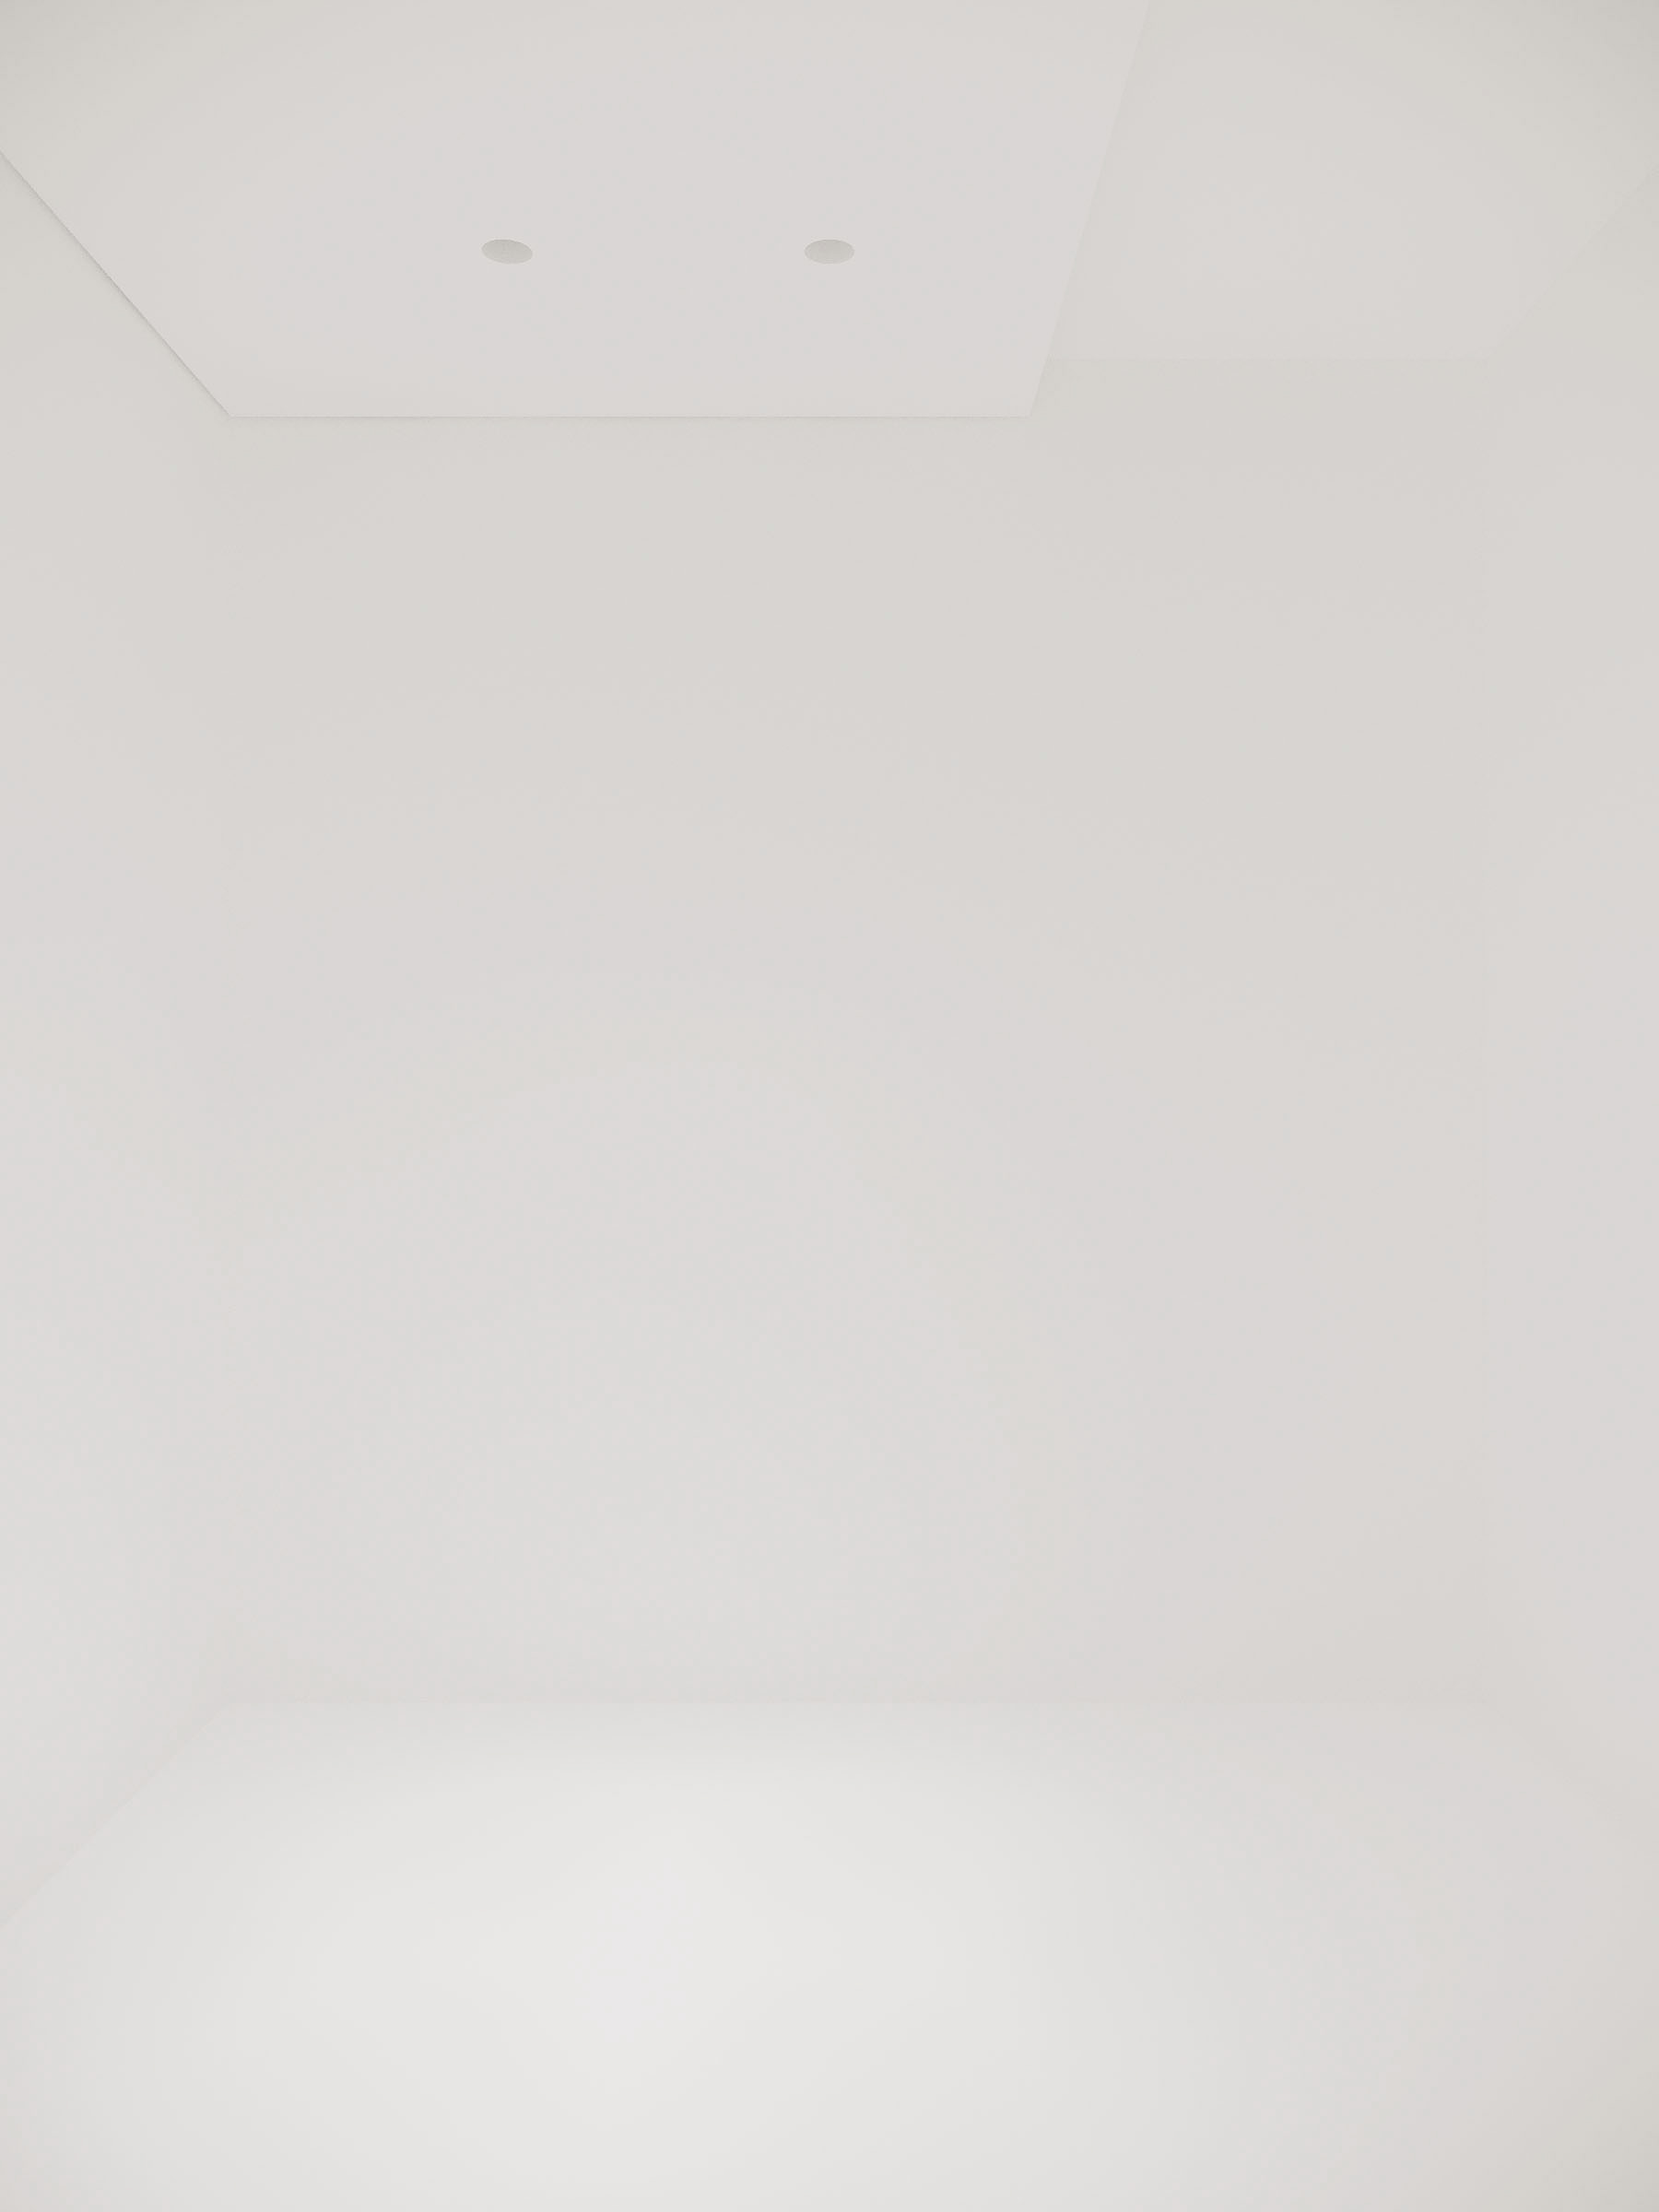
The initial phase involves crafting a foundational room model. To do this, I import necessary technical drawings into the 3ds Max software, which serve as blueprints for modeling walls, including door and window apertures, as well as floors and ceilings, encompassing suspended ceilings as well.
Stage 2
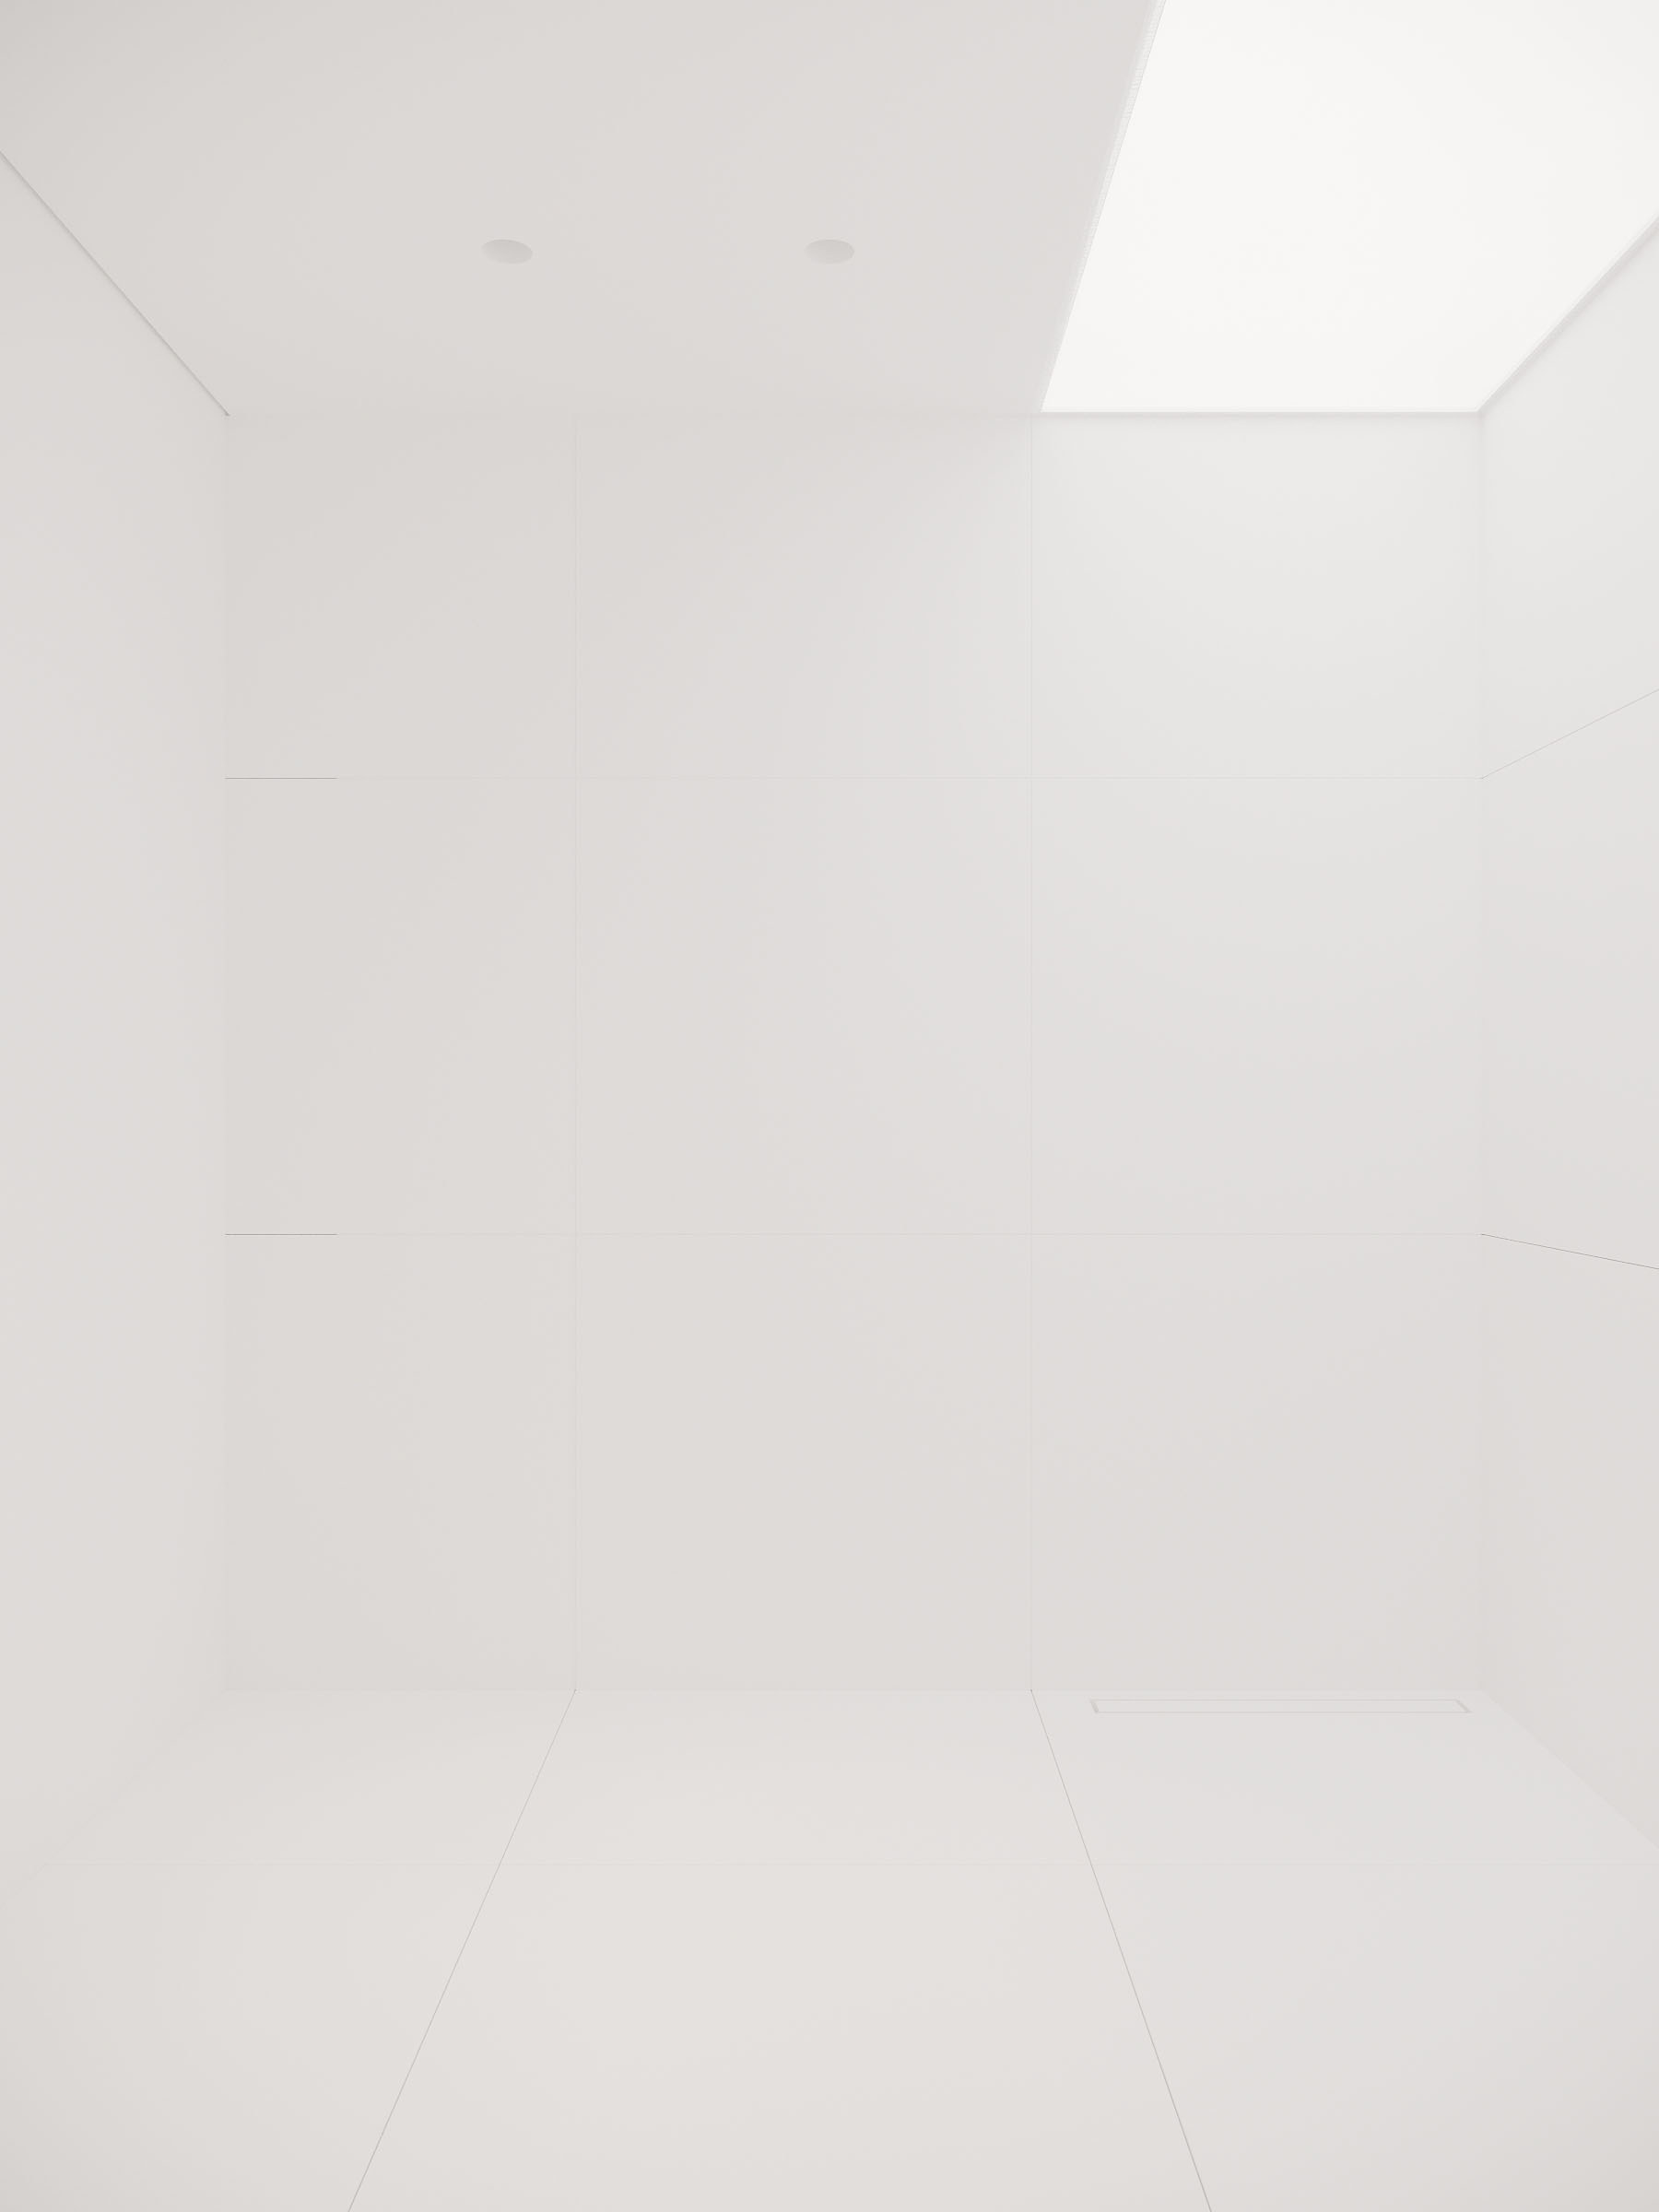
Then, I proceed to model the floors and wall coverings, meticulously attending to details such as chamfering floor panels and creating recesses for grout between tiles to enhance the realism of the visualizations.
Stage 3
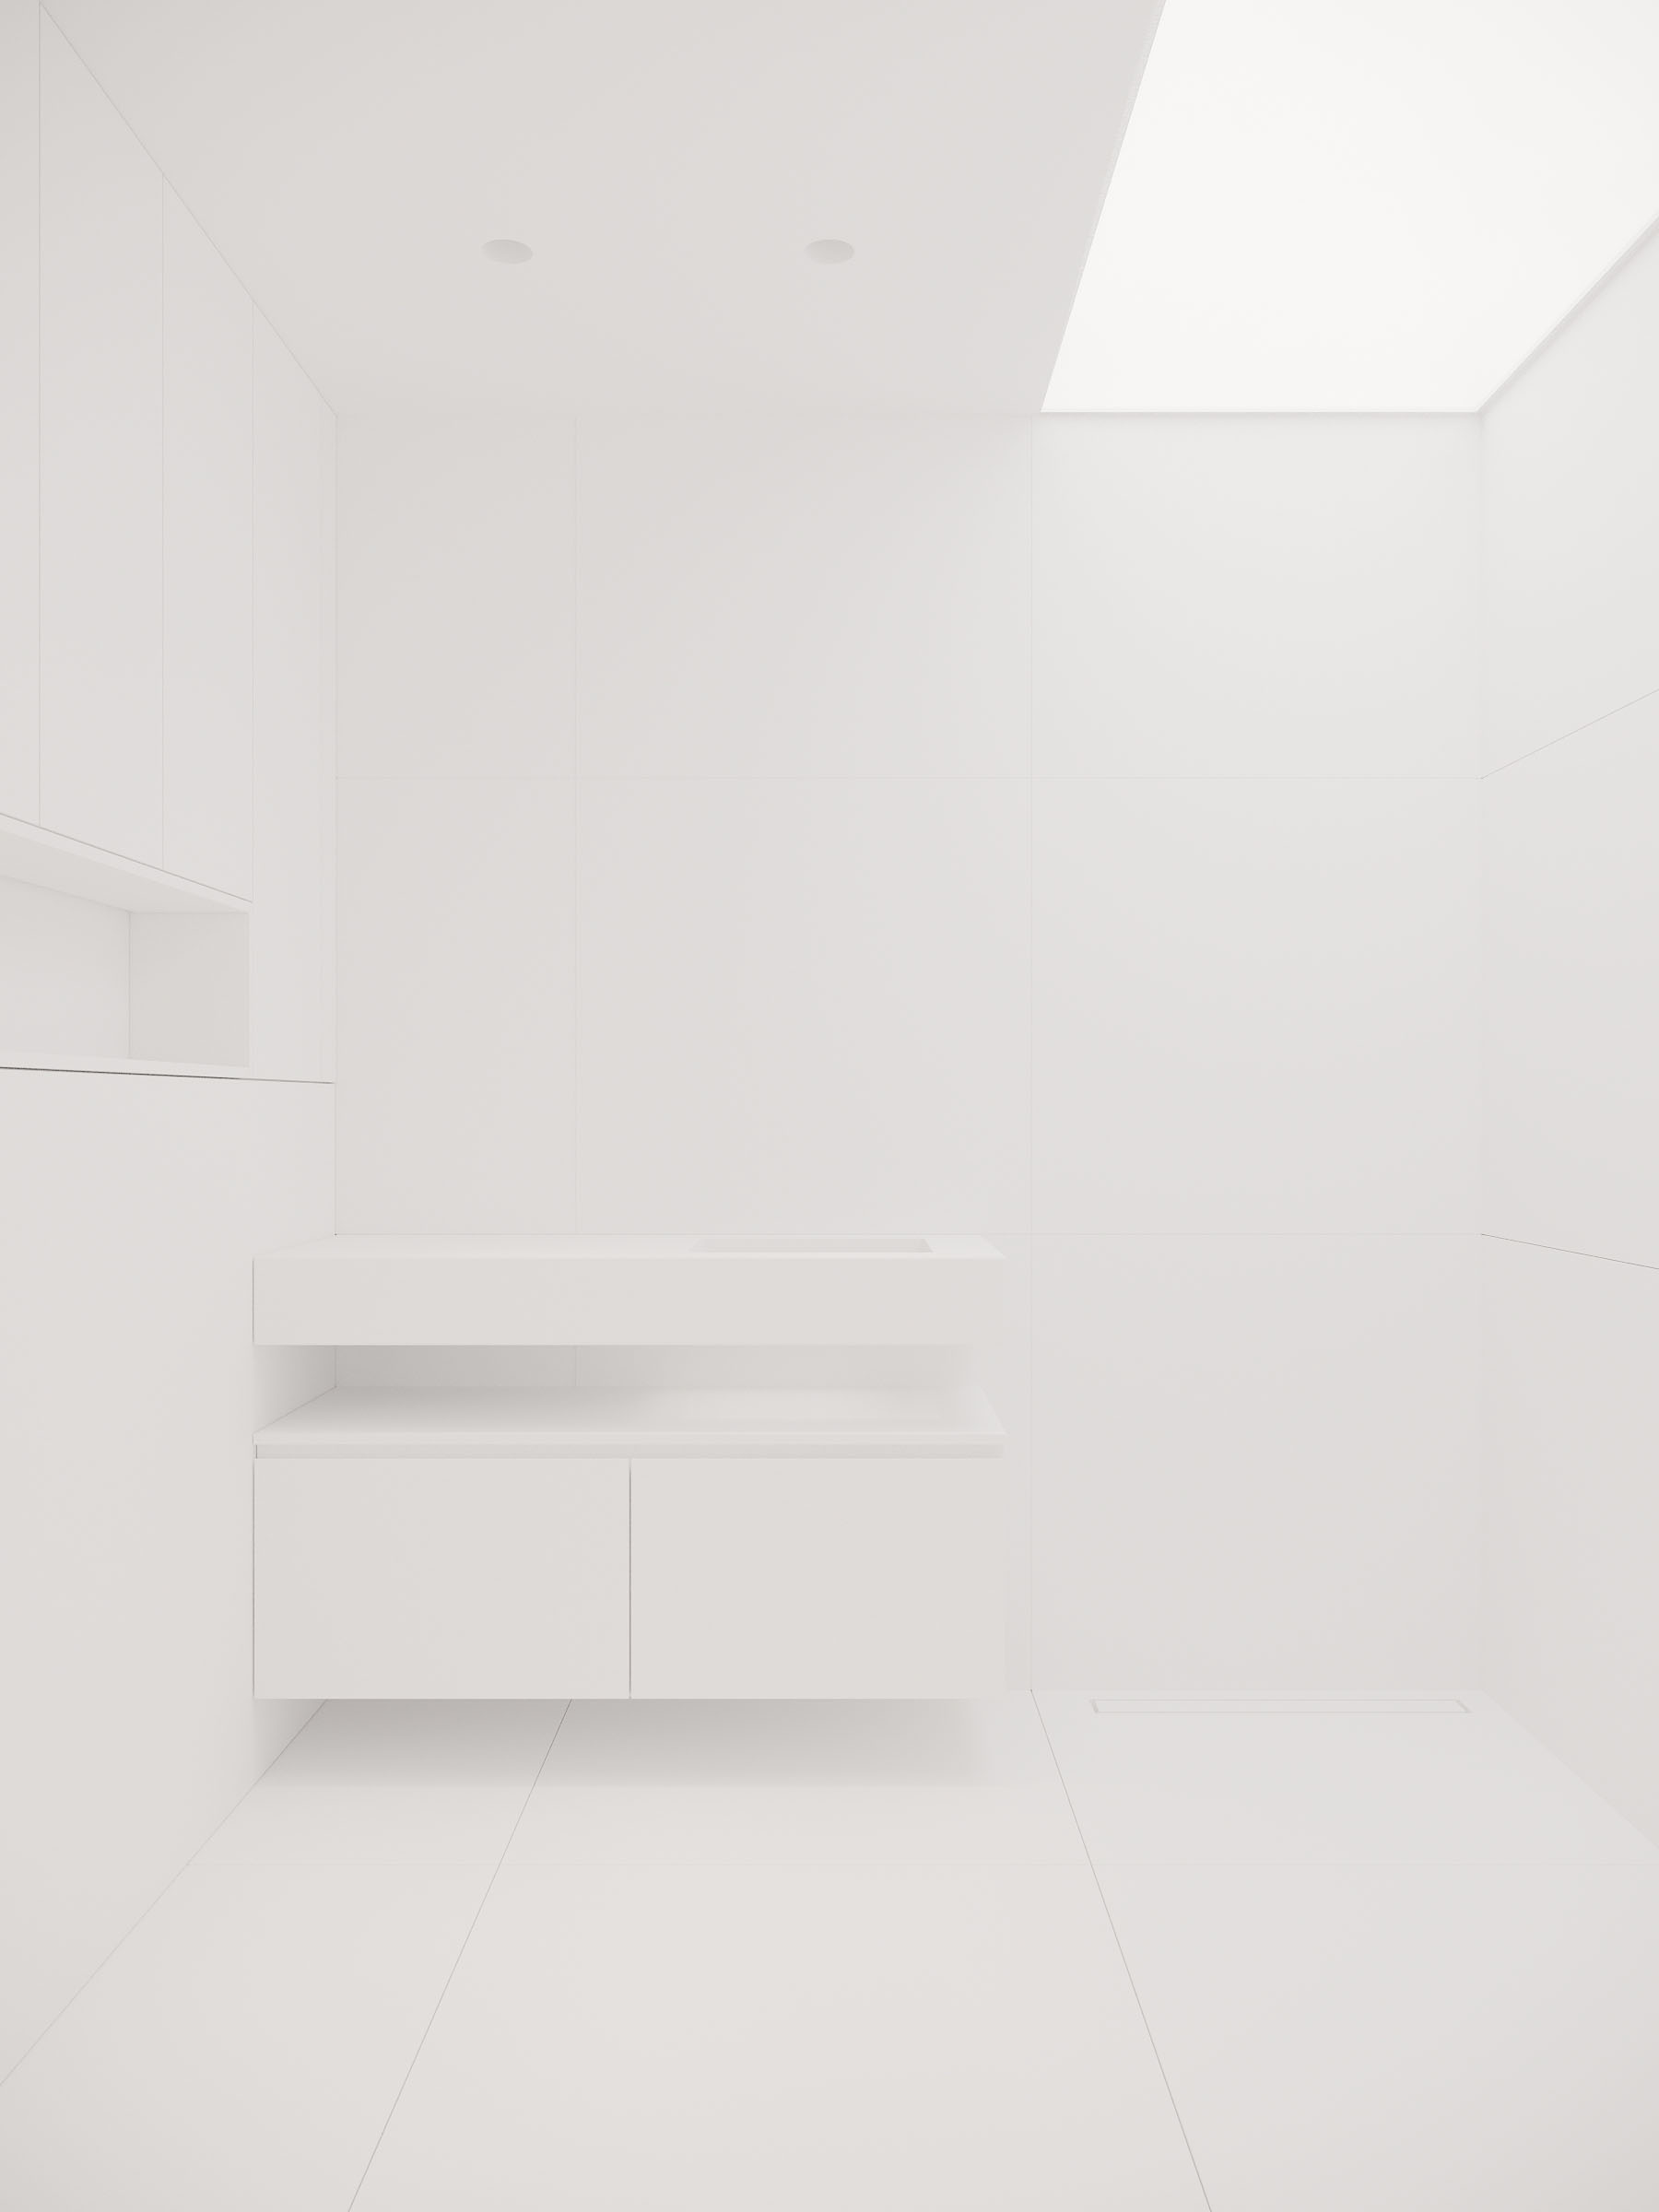
The next step involves meticulously modeling all custom furniture, paying close attention to details. Once the essential elements are added to the model, I proceed to set up the cameras and scene lighting.
Precise camera positioning is crucial for achieving optimal shots. For smaller spaces like bathrooms, I set the focal length to 50 mm to achieve the right perspective.
The lighting is tailored to the intended atmosphere of the visualization, but I always strive to avoid overexposure and overly dark areas.
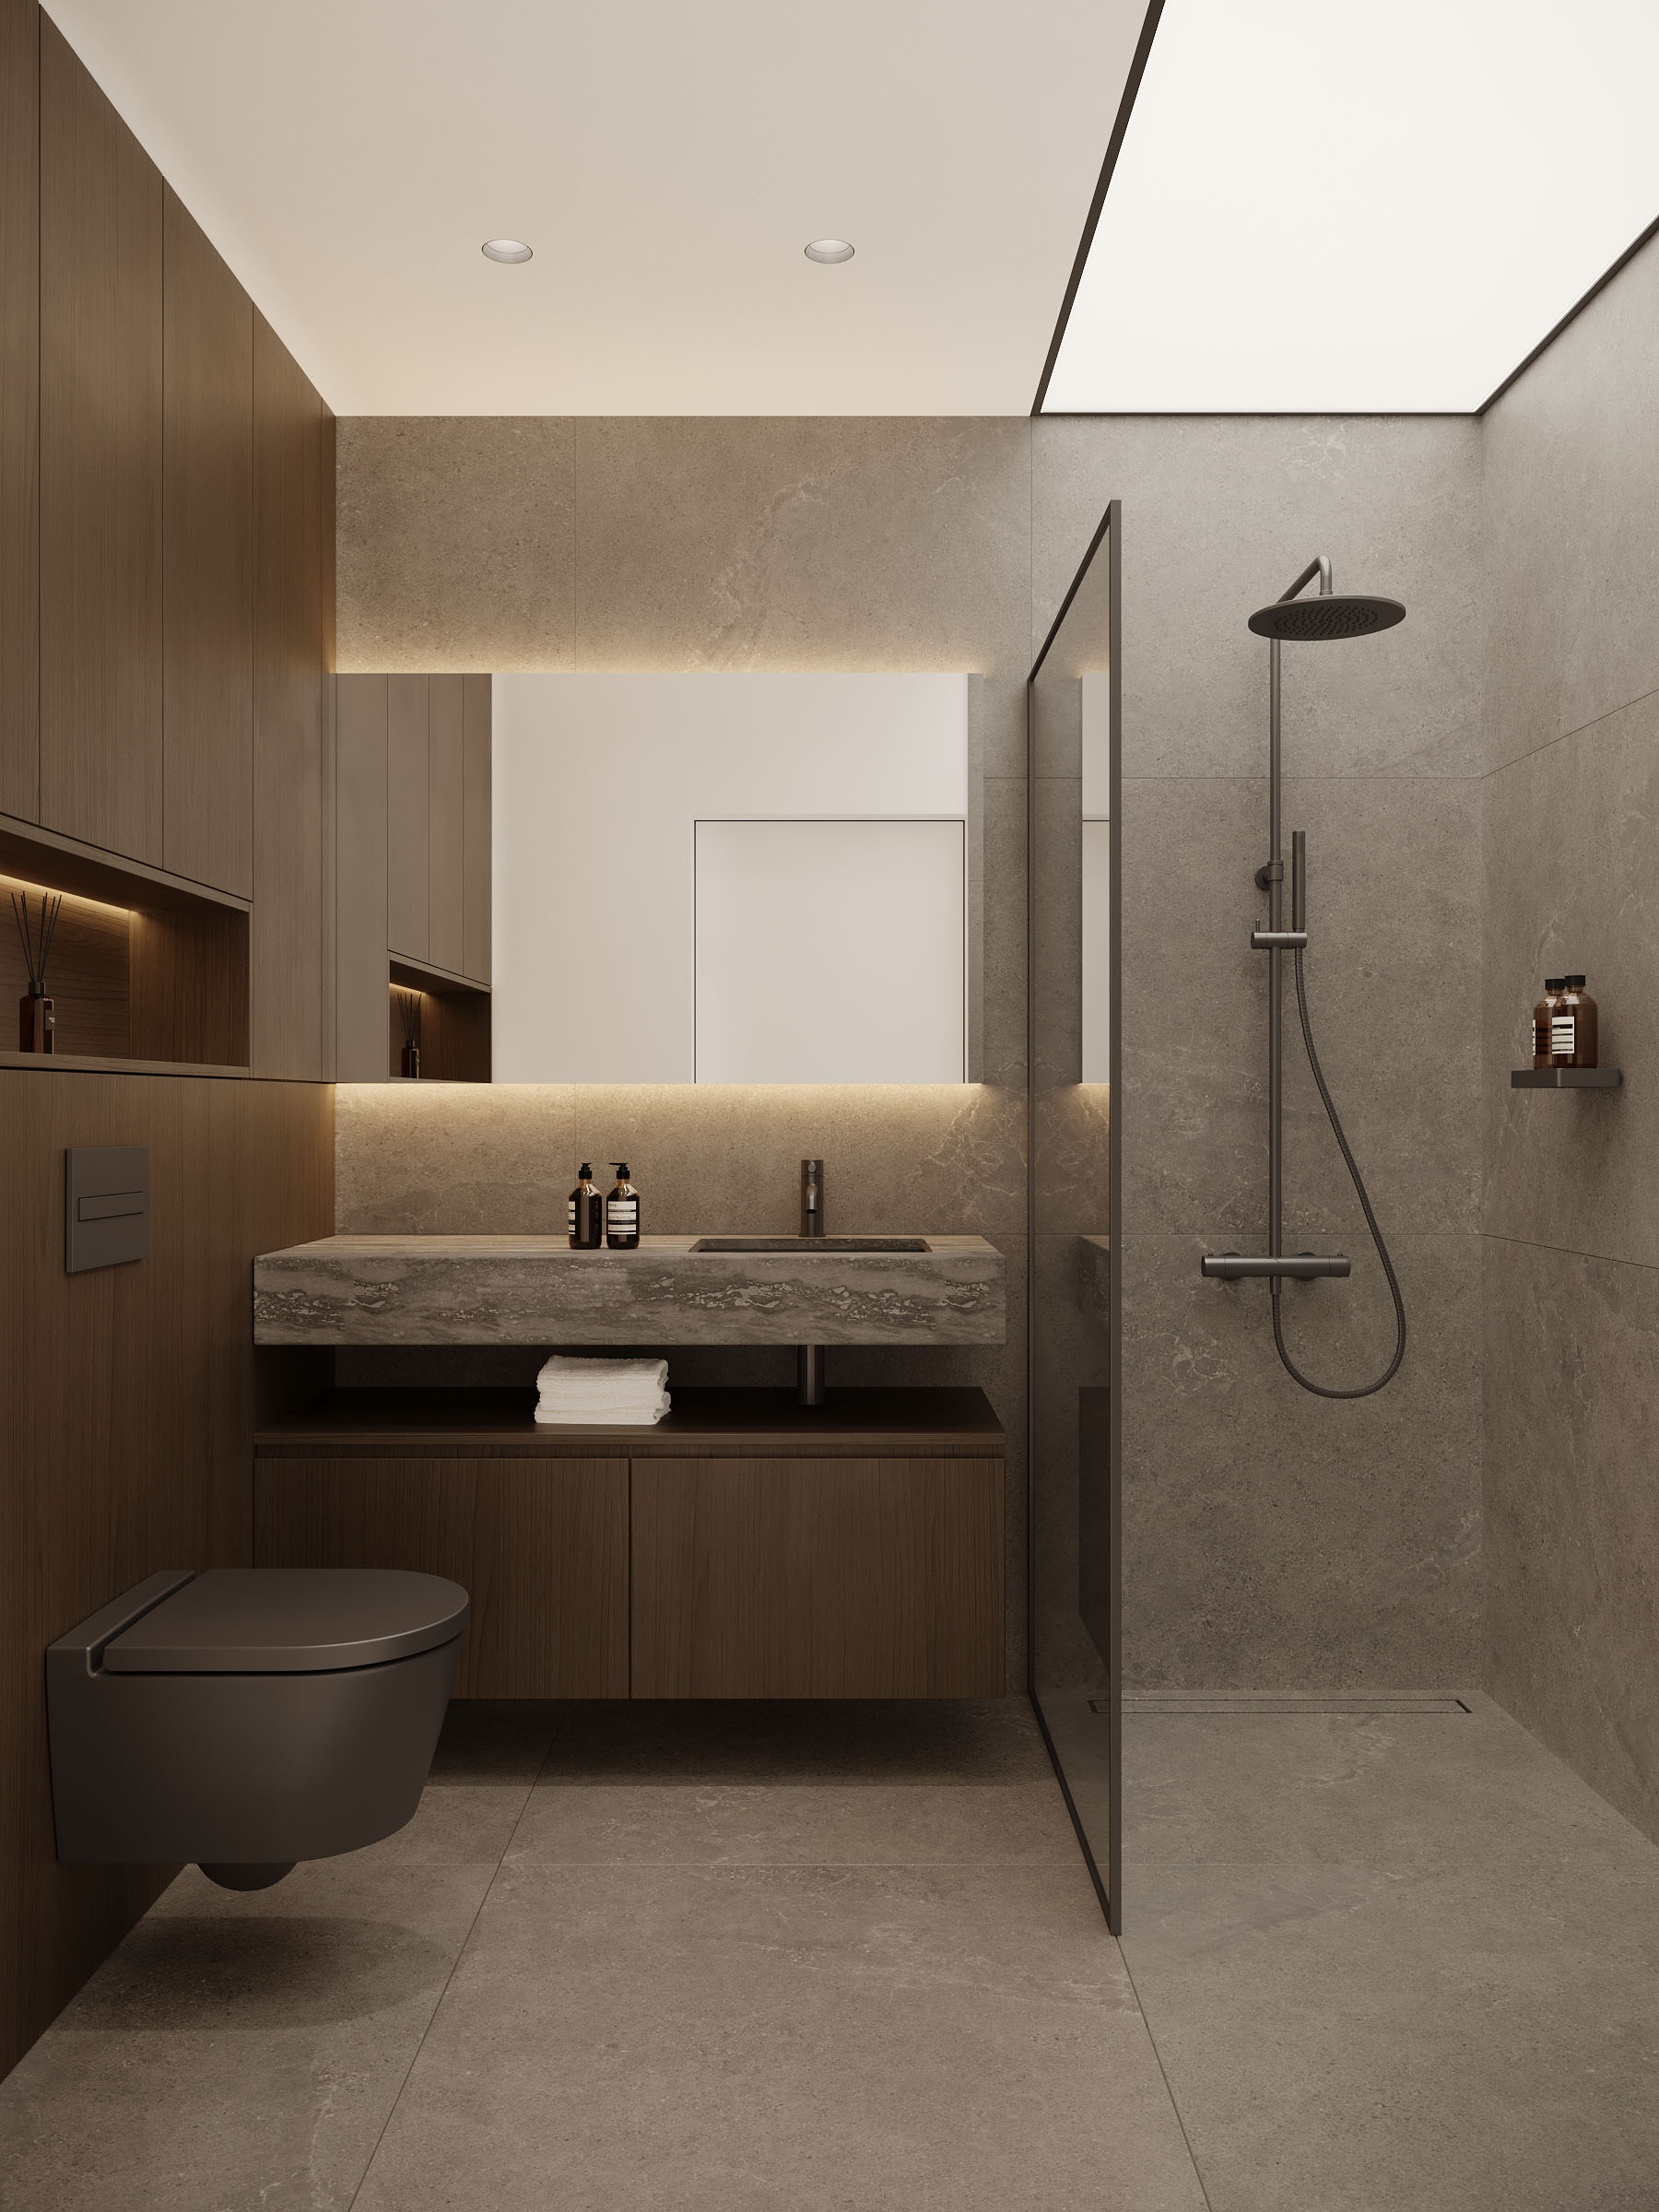
In this case, the primary light sources are recessed fixtures in the suspended ceiling and a stretch ceiling. Their proper placement ensured the right brightness for the scene and optimal conditions for rendering.
Stage 4
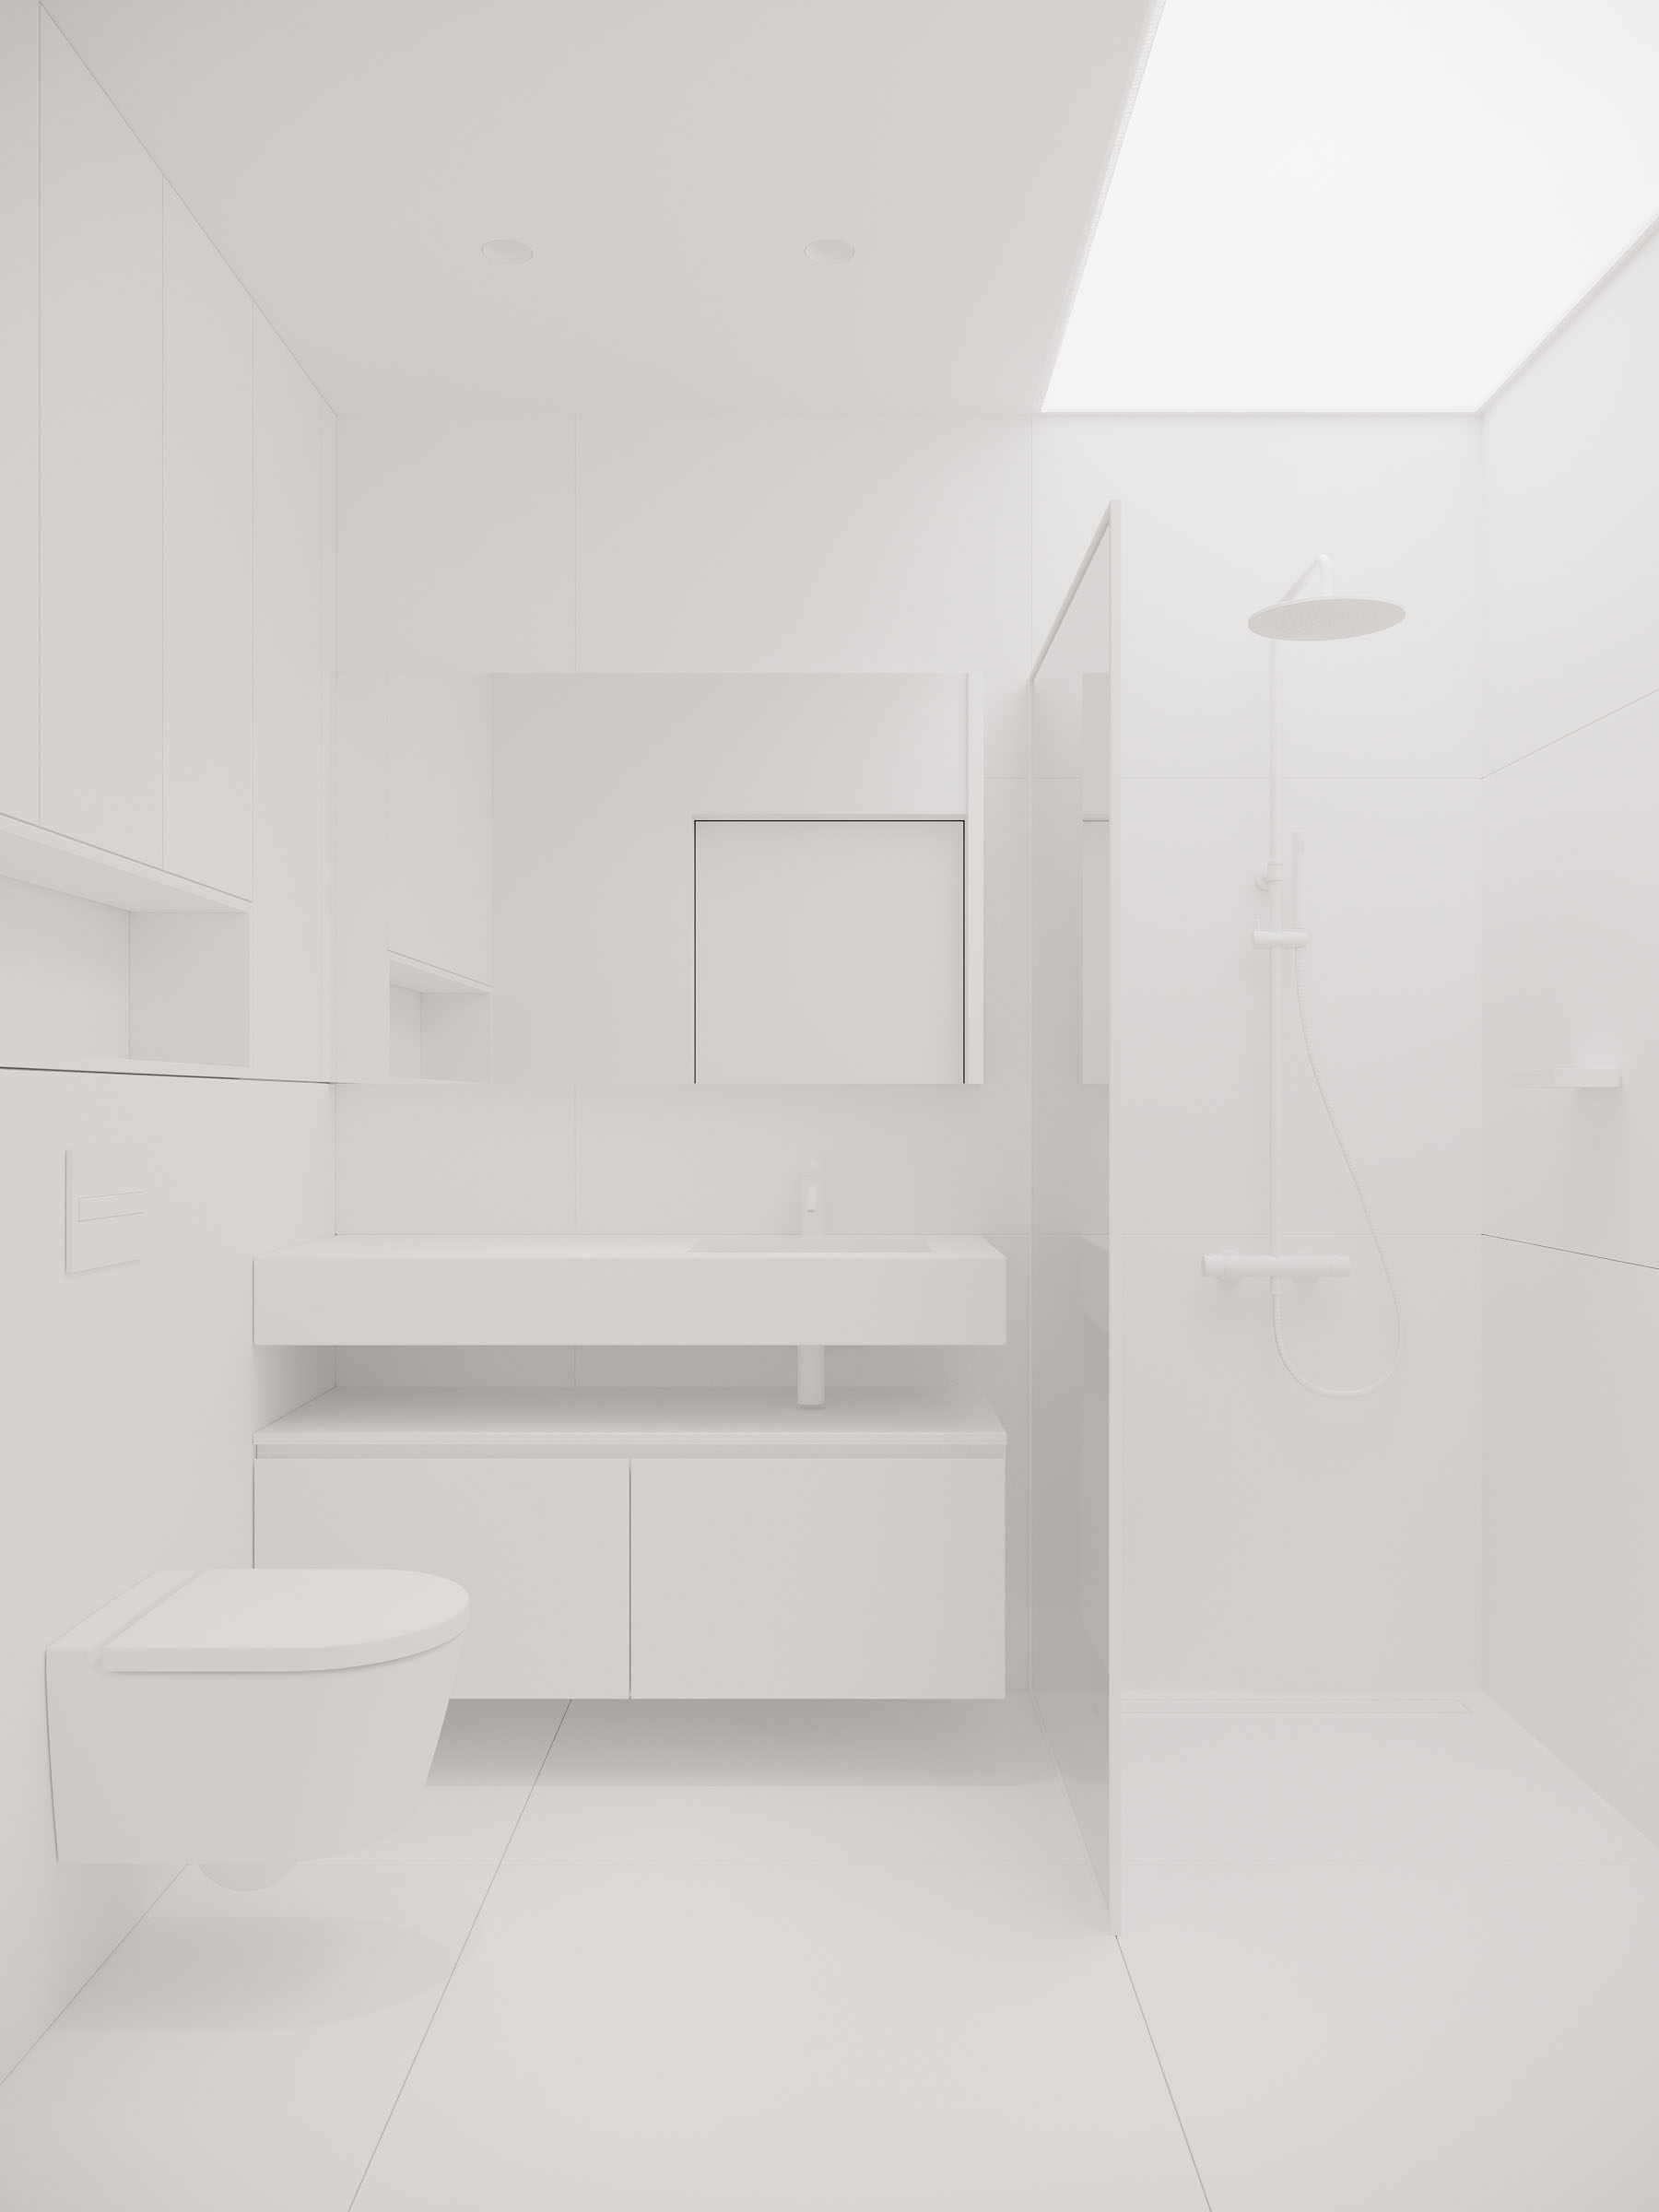
I add the remaining elements of the equipment, i.e. for the bathroom it will be, for example, fittings. I always ensure to import high-quality 3D models of products.
When creating commissioned interior visualizations, I rely on the provided product lists, and I search for their 3D models on manufacturers’ websites.
Unfortunately, they are not always available, which sometimes requires purchasing paid 3D models or dedicating extra time to creating them.
Stage 5
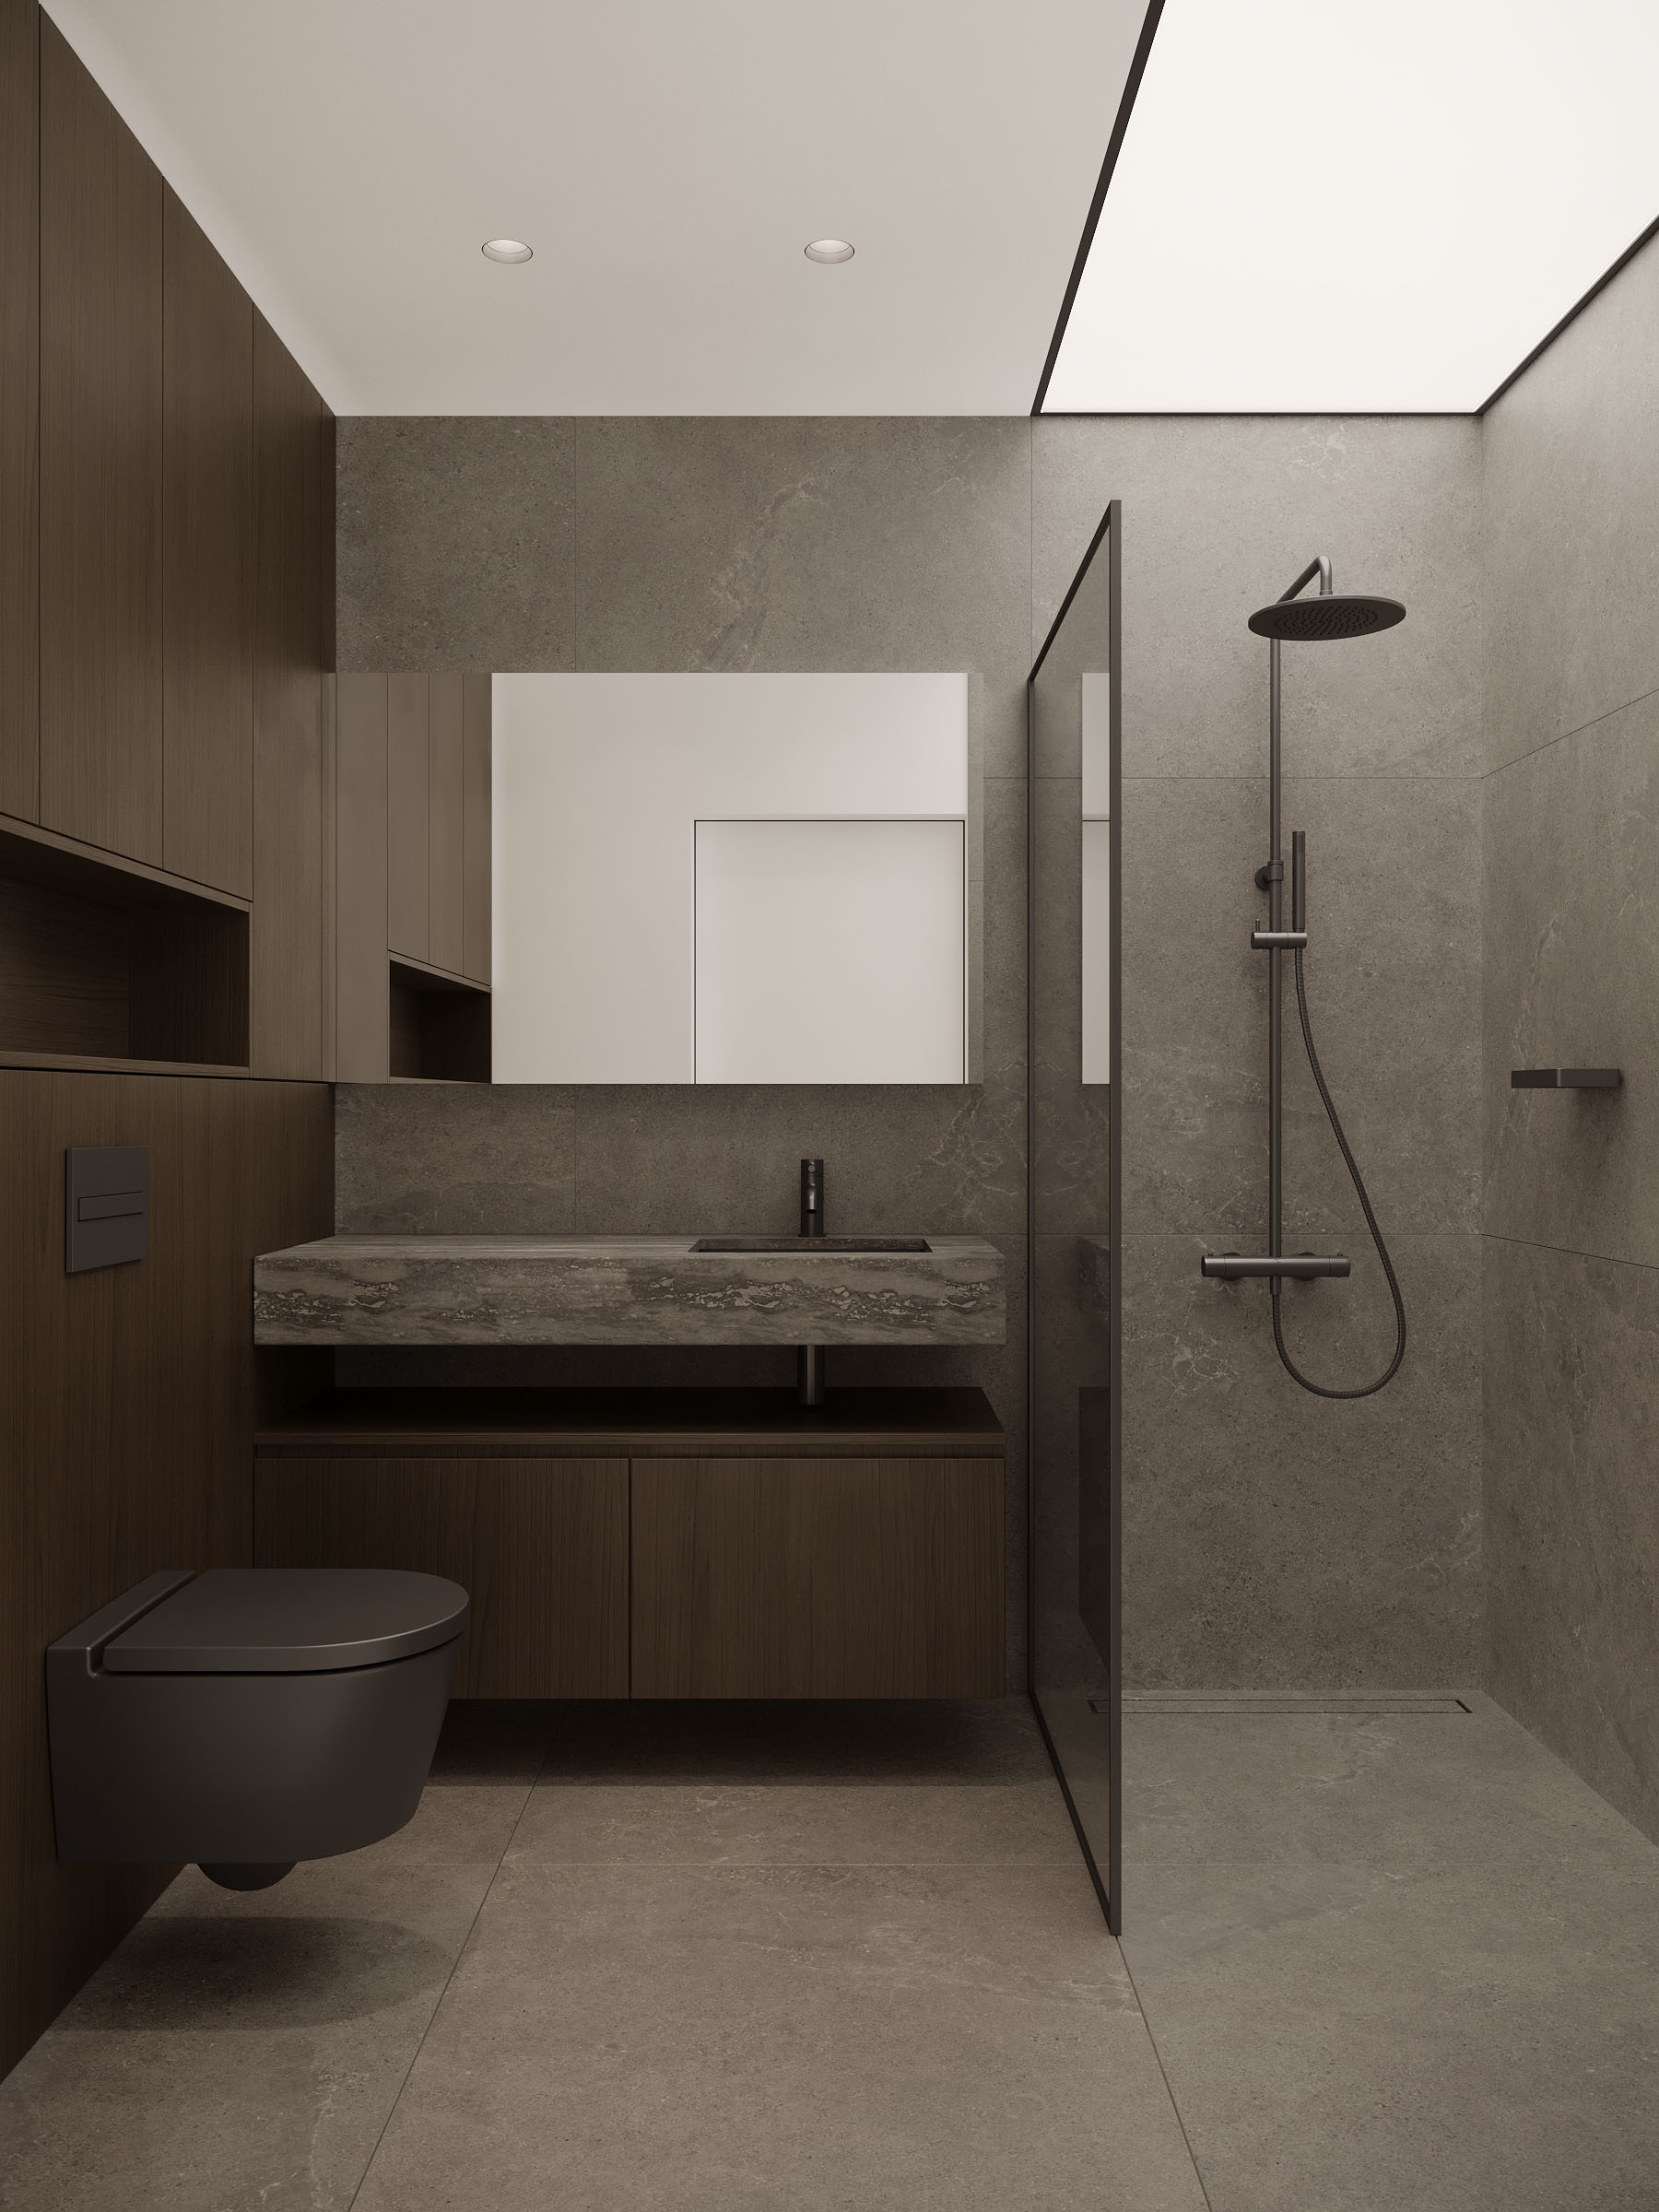
The next step involves setting up materials and assessing whether they appear well in the established lighting. I always strive to create intricate materials that fully capture their distinctive qualities.
It’s crucial to utilize high-quality textures and additional maps, such as glossiness, bump, or normal maps, which enable achieving even better visual effects.
Stage 6
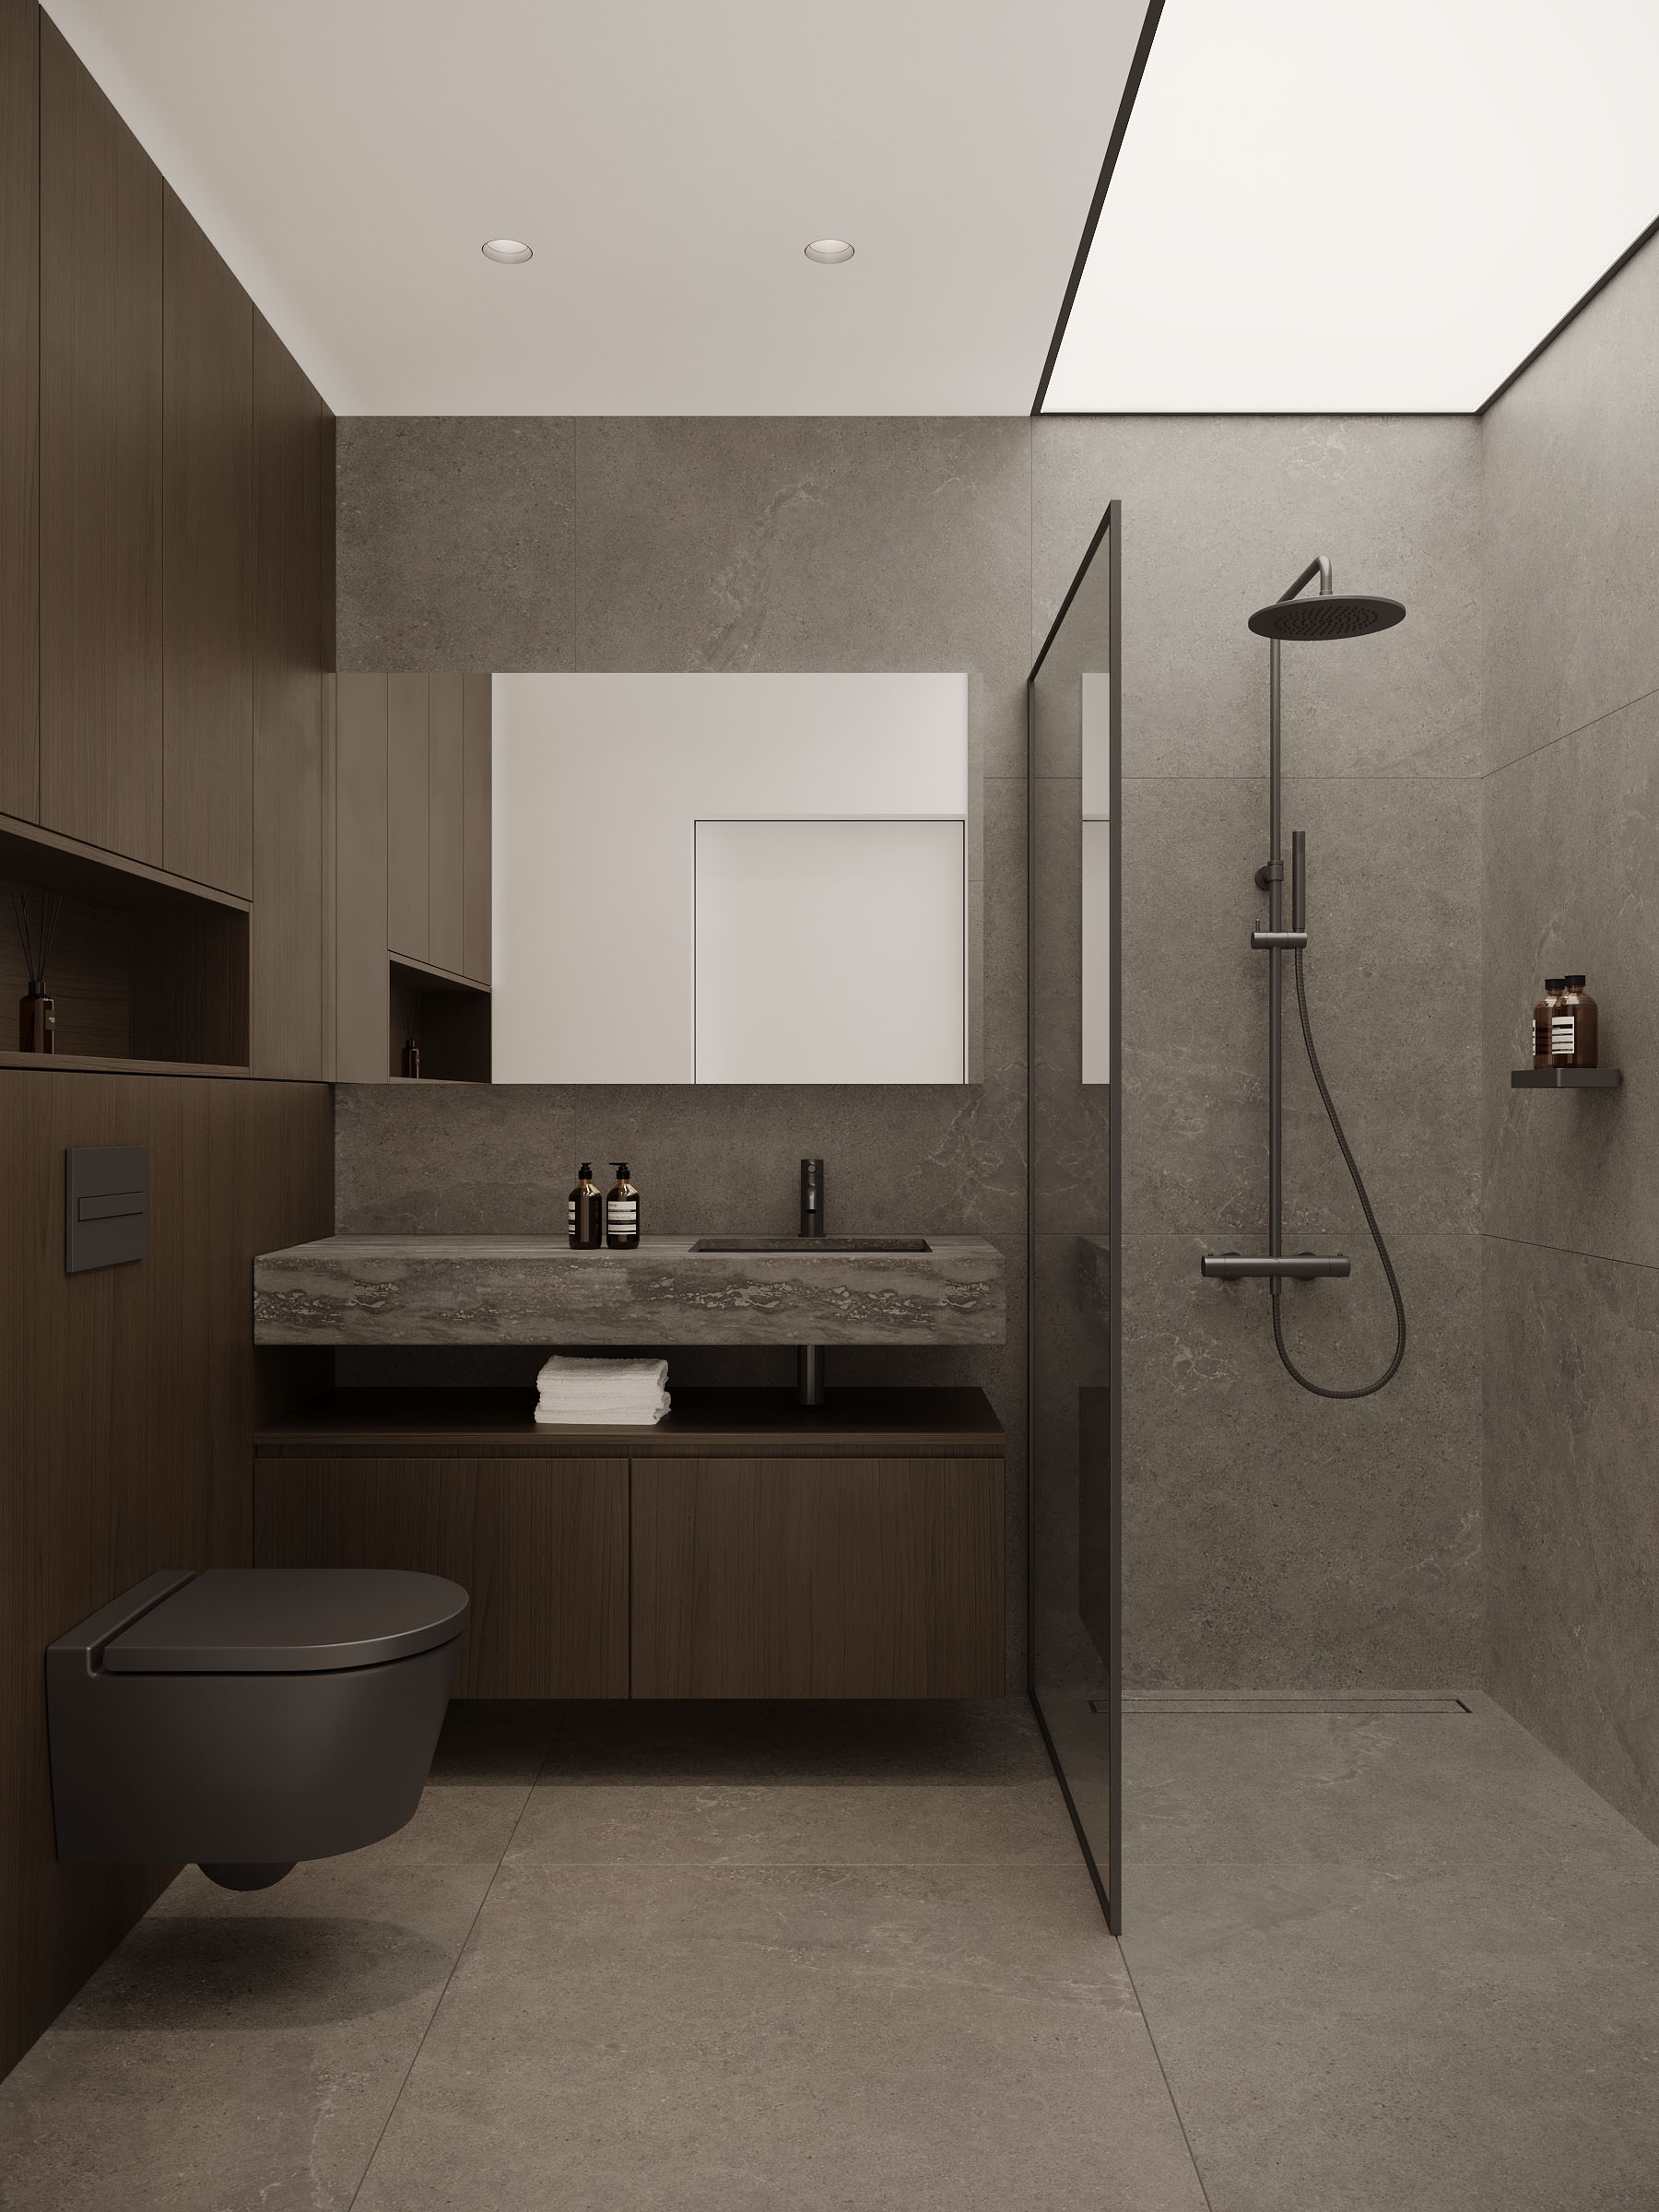
When the interior architecture is finalized, I move on to selecting decorations that align with the project’s concept. I meticulously choose elements to harmonize or contrast with the overall design intent.
In my opinion, interior styling not only enhances the realism of visualizations but also gives the project a unique character.
I aim to avoid an excess of decorations to prevent detracting from the interior architecture. However, I believe that thoughtful accents can enhance the appeal of visualizations.
Stage 7
Finally, I incorporate warm decorative lighting, adjusting the color temperature between 2700 K and 4200 K, enhancing the coziness of the space.
I’ve observed that this has a positive impact on how clients perceive the visualizations, and it attracts attention when published on social media platforms.
I hope the article proved interesting and inspiring for you. If you have any further questions, feel free to ask. I’m also excited to hear your suggestions for topics you’re interested in reading about on my blog. Don’t hesitate to get in touch, for example, through a direct message on Instagram @zuzanna_studio.
Let's Work Together!
For collaboration on interior designs, 3D visualizations, or art direction, please don’t hesitate to contact me at: studio@zuzannarogowska.pl.
You can also use the contact form to receive a personalized offer for services provided by Zuzanna Rogowska Studio. Please click here to submit an inquiry.

